22 Hours.
22 hours of cleaning, sanding, prepping, drying, wiping, painting, taping and cursing.
I took on the bathroom upgrade with as much gusto as I could, damn well knowing the prep was going to take the bulk of the work. I have no idea what Mark did this weekend since I lived my life in the bathroom, only taking a few breaks here and there to eat.
So what was accomplished?
- the bathroom was deep cleaned
- all outlet covers, towel bars, wall mirrors, and vents were removed
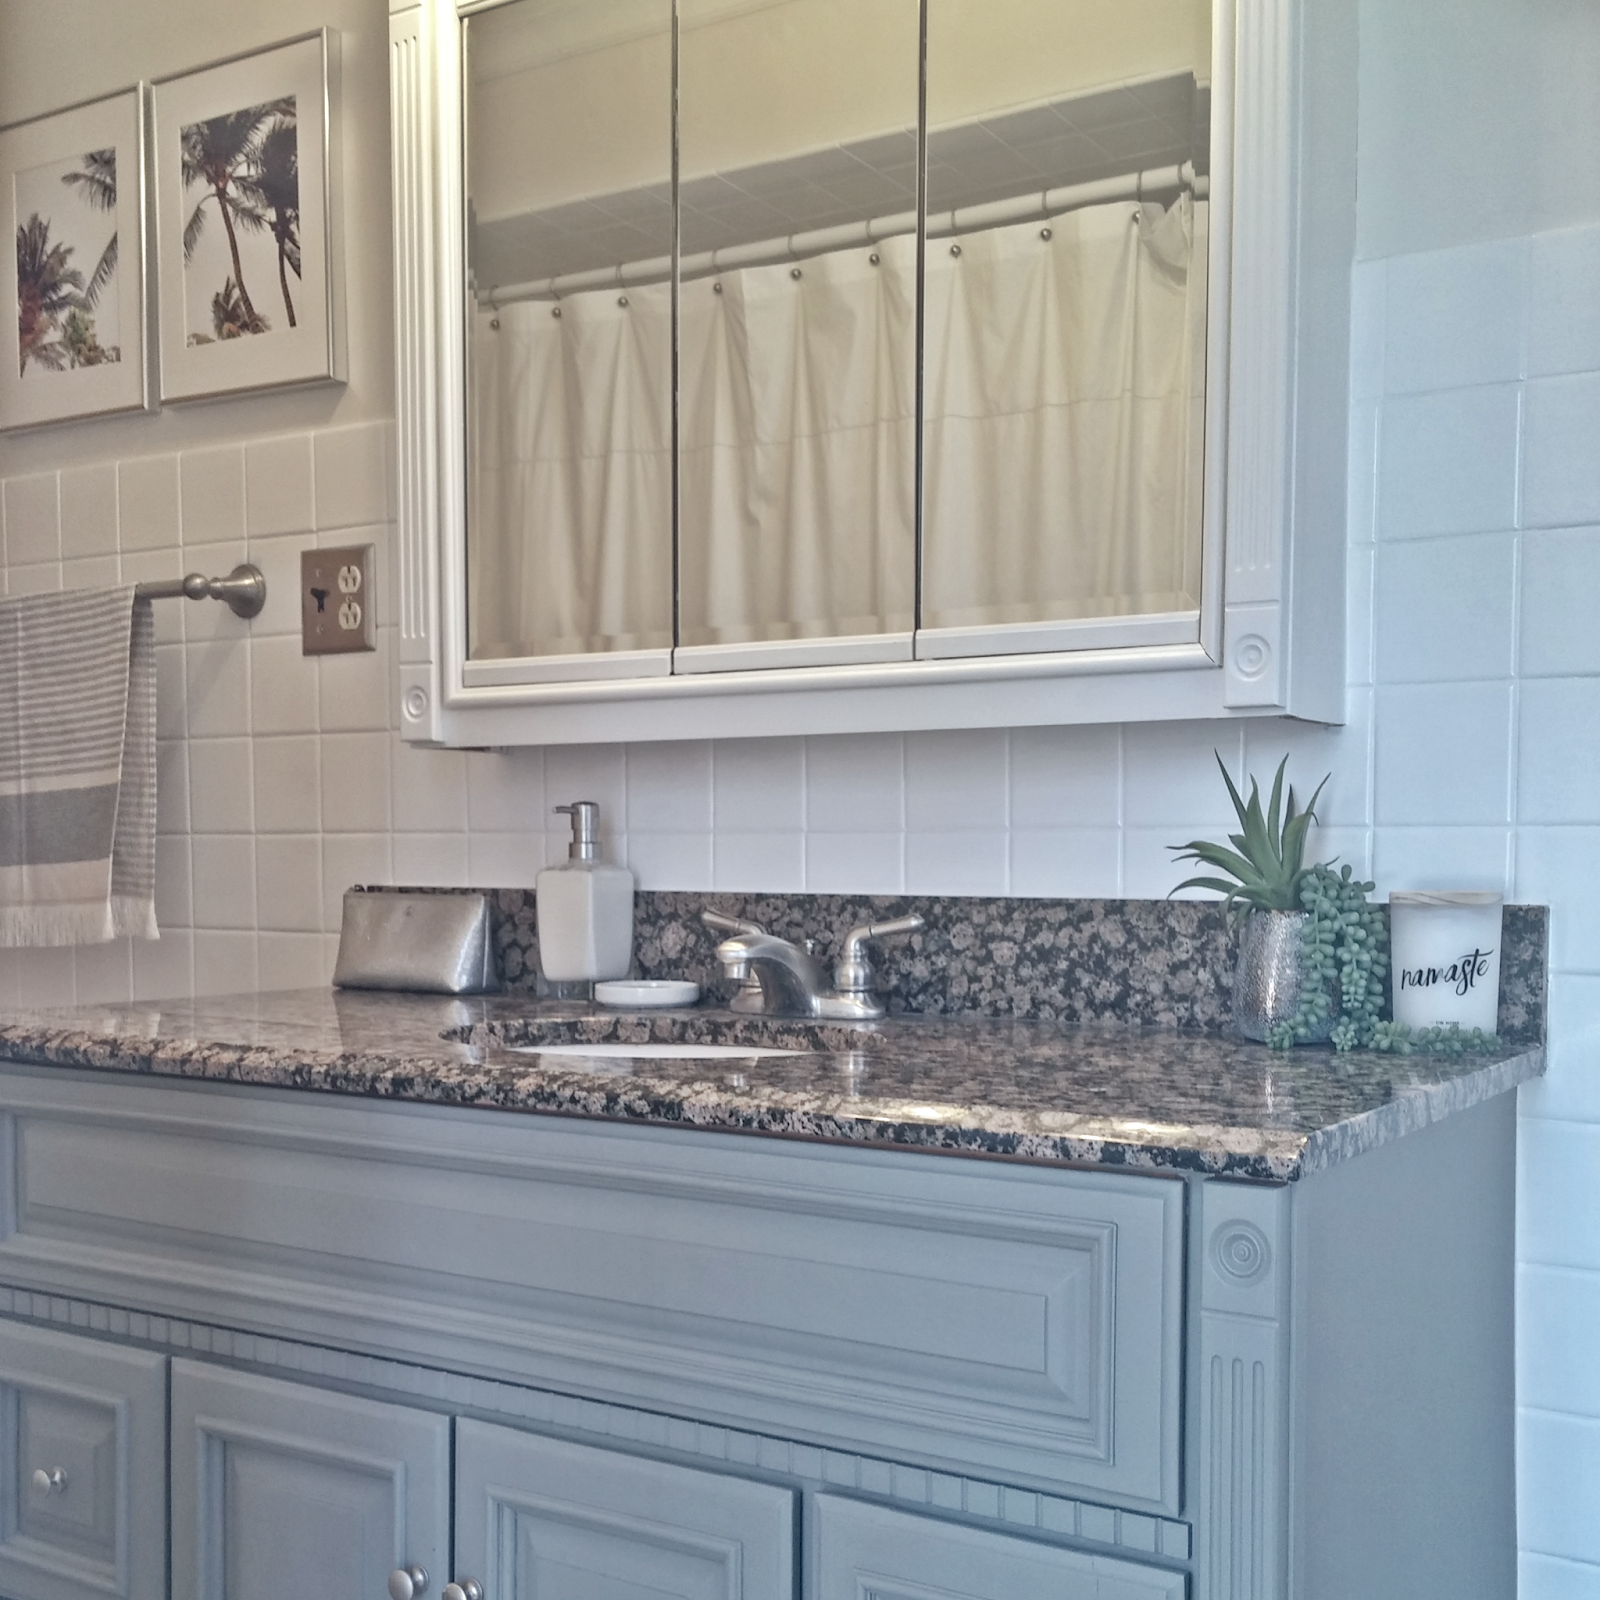
- the vanity mirror was painted
- the walls were painted
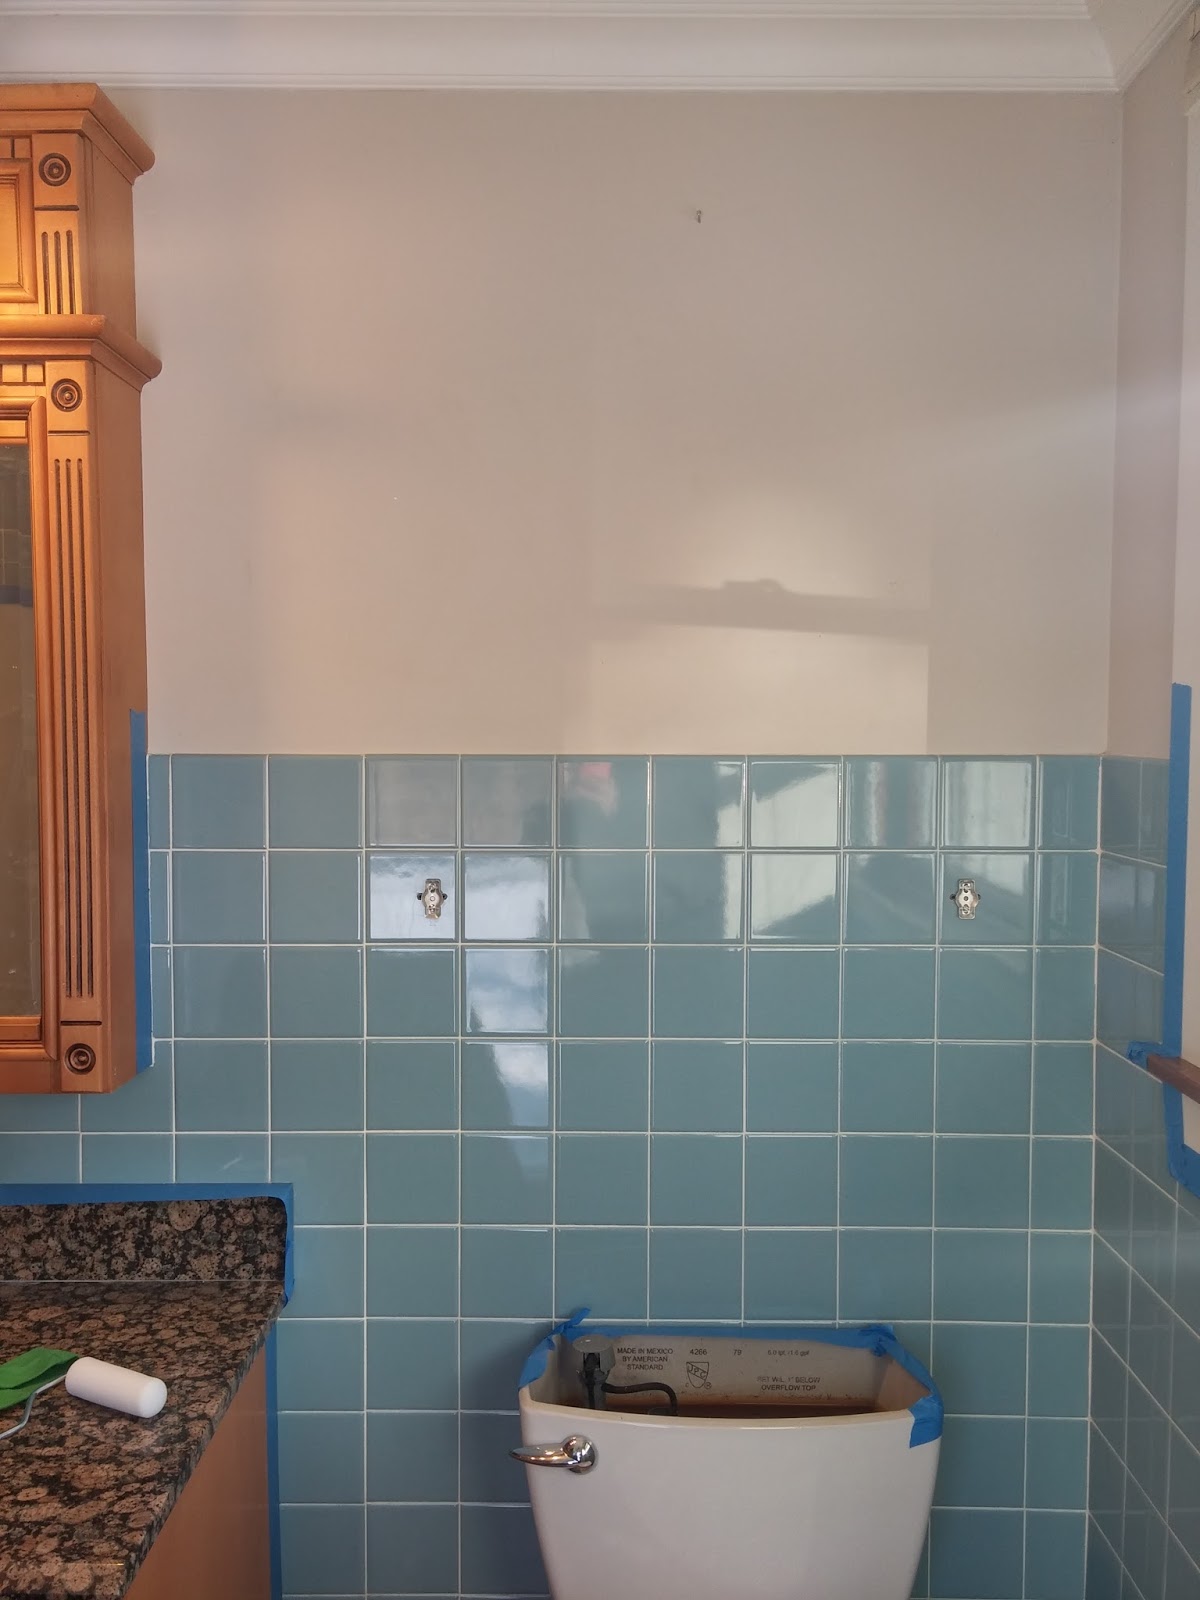
- the wall tile was prepped, sanded and painted
So basically I painted every square inch of the bathroom, minus the floors, with at least two coats of paint.
Although I won't be posting any final reveals for a while...here is a side-by-side sneak peek of the progress:
The wall tile was the big item this weekend.
I hand-sanded every single tile in the bathroom for a solid six hours.
Who needs Orangetheory anyways?!
In case you're wondering how all this happened, here is what I did.
(The full list of equipment items can be found
HERE)
Prep and Cleaning:
- I taped off the tub, shower surround and toilet with
painter's tape and
plastic.
- I mixed a 50/50 ratio of bleach and water to
spray the tile that had any mold or mildew.
- Then, using an
abrasive pad, scrubbed the tile, rinsed and wiped down.
- Then
clean all tile with Comet. I dumped some of the powder in a small bucket and topped off with a little water to turn into paste. Using an
abrasive green sponge, I scrubbed every wall tile, let dry, rinsed off with water, then wiped everything down to dry.
Sanding:
- I had no idea how much I was supposed to sand or what the tile was supposed to look like when I was "done" sanding. I learned that the shiny wall tile will stay shiny no matter how much sanding is completed and that is okay. I was extremely hesitant to sand too little, for fear the paint wouldn't stick to the wall. It will. I promise. Just make sure you go over all the little corners of every tile and it'll be fine.
- I started off with the recommended
400 grit wet/dry sandpaper, realized my efforts seemed to be futile, went to Ace and bought 220 grit sand paper and sanded the whole bathroom for five hours.
- Then I went over everything again with the original
400 grit sandpaper for another hour.
- Then I cried because my arms hurt so much, took a bath, and passed out.
Painting:
- I used
Rust-oleum Tub and Tile refinishing kit in White. I bought two boxes. Each box was enough for one coat for the entire bathroom.
(the bathroom is roughly 10x8 and the tile is 60% of most of the walls)
- I swept and dusted the room again for good measure
- Just before I was ready to paint, I wiped down all the tile with
tack cloth to remove any fine debris.
- I had a
4" roller frame and
20 high-density foam rollers, along with a
multi-pack of foam brushes.
- Set up your space: Place
extra rollers,
brushes, paper towels, and a lined garbage can in an easy accessible area. You will be changing out rollers often during the painting process.You will use most of them since the paint will eventually eat away at the foam and you will need to replace it every few feet so the foam pieces don't get stuck in the tile paint.
-
Wear plastic gloves so your hands don't end up with epoxy paint all over them.
- Open the windows, turn on any return vents and fans (facing outwards) as possible.
-
Put on your respirator before opening the cans of paint.
-
The paint comes in two cans. The base (large can) and the activator (small can). I shake up the base contents before slowly opening the lid. Continue to stir for about a minute.
- Shake up the activator can and slowly open the lid. Place the base can IN the
paint tray (
with liner) you are planning to paint from. Pour the entire contents of the activator can into the base can. (
If you pour too slowly it will just run down the can and onto the floor...trust me)
- Don't freak out that it filled up to the top of the base can. Slowly stir all contents in the base can (side-to-side and up-and-down) for roughly two minutes. The result is extremely liquidy contents.
This is good. It becomes tacky rather quickly.
- Pour some in your lined paint tray and lightly put the lid on the can to keep the contents fresh.
- "Cut-in" the paint with the foam brush around the edges of the tile, then smooth over with the roller, just like you would normally paint a wall.
- The paint will run so be sure to keep the painting moving. Keep a decent amount of paint on the brush the entire process or you'll find the foam will disintegrate much faster and end up in your wall paint.
- I pushed the foam brush into the grout as needed to ensure paint coverage everywhere, then went over the tile with the roller. The paint becomes tacky rather quickly so keep moving and fixing your paint constantly.
- Once the can is open and the activator is added to the base, you have six hours to use it.
- Let the first coat sit for 1-2 hours before applying the second coat.
- Use a
different tray liner with every coat and a fresh roller and brush.
- Make the second coat a bit thicker than the first and don't roll too hard or you may notice it starts to pull up the first coat. Don't freak out. Just let it dry a bit and come back and add more paint as needed.
Notes:
This paint is super toxic smelling. Do not use anything less than
this respirator. It was a god-sent and kept me from passing out. I couldn't smell anything while wearing it. Get your kids and pets as far away from the room as possible for the first 8 hours. Shut the door to the room, open the windows, and put a towel at the base of the door to keep the fumes at bay. Yes, it's that bad.
As far as the vanity goes, I used this
chalked paint company and had them tint it to match the walls.
They sell all their standard colors on Amazon, though.
It took two brushed coats and one rolled coat to look even.
This painting process took four hours.
The walls were painted Tahitian Vanilla (by Valspar) to match the rest of the house.
This painting process took about an hour.
The tile paint has to cure for about a week before you use water in the area, so just let it be.
Thanks for following along!! XO