
The bathroom facelift is ready for viewing! It's been a labor of love and I'm so happy with the result I was able to create working with the existing foot-print.
The entire upgrade was completed for $450 in 12 twelve days (spread out over a couple months).
I took on this project solo (as I do with most home renovations).
It's my combat and therapy for the winter blues.
If you want a quick walk down memory lane, you can catch up on prior bathroom blog posts starting with THE INITIAL PLANS, WEEK 1 PROGRESS, and the last WEEK OF RENOVATIONS.
And then I sort of left you high and dry while the rest of my life unfolded.
I have been finished with the renovation portion of the bathroom for over a month.
But, I have a small confession.
I struggle with the details.
You see...I HATE tchotchkes (pronounce choch-kees...you know...all the knick-knacky crap that people vomit all over their homes?)
Any accessories that go on the vertical and horizontal surfaces in my home typically need to have a purpose or some sort of sentimental value to them, or Hell...are just THAT pretty....otherwise I just can't.
I volleyed with exactly WHAT to put WHERE in this little bathroom for literally an entire month. We got back from vacation, and I knew I wanted some of my photos printed and manipulated for the space, and after 5+ trips to Walgreens, Hobby Lobby, and everywhere in between.....I'm finally thrilled with the space.
 |
| Burn could care less |
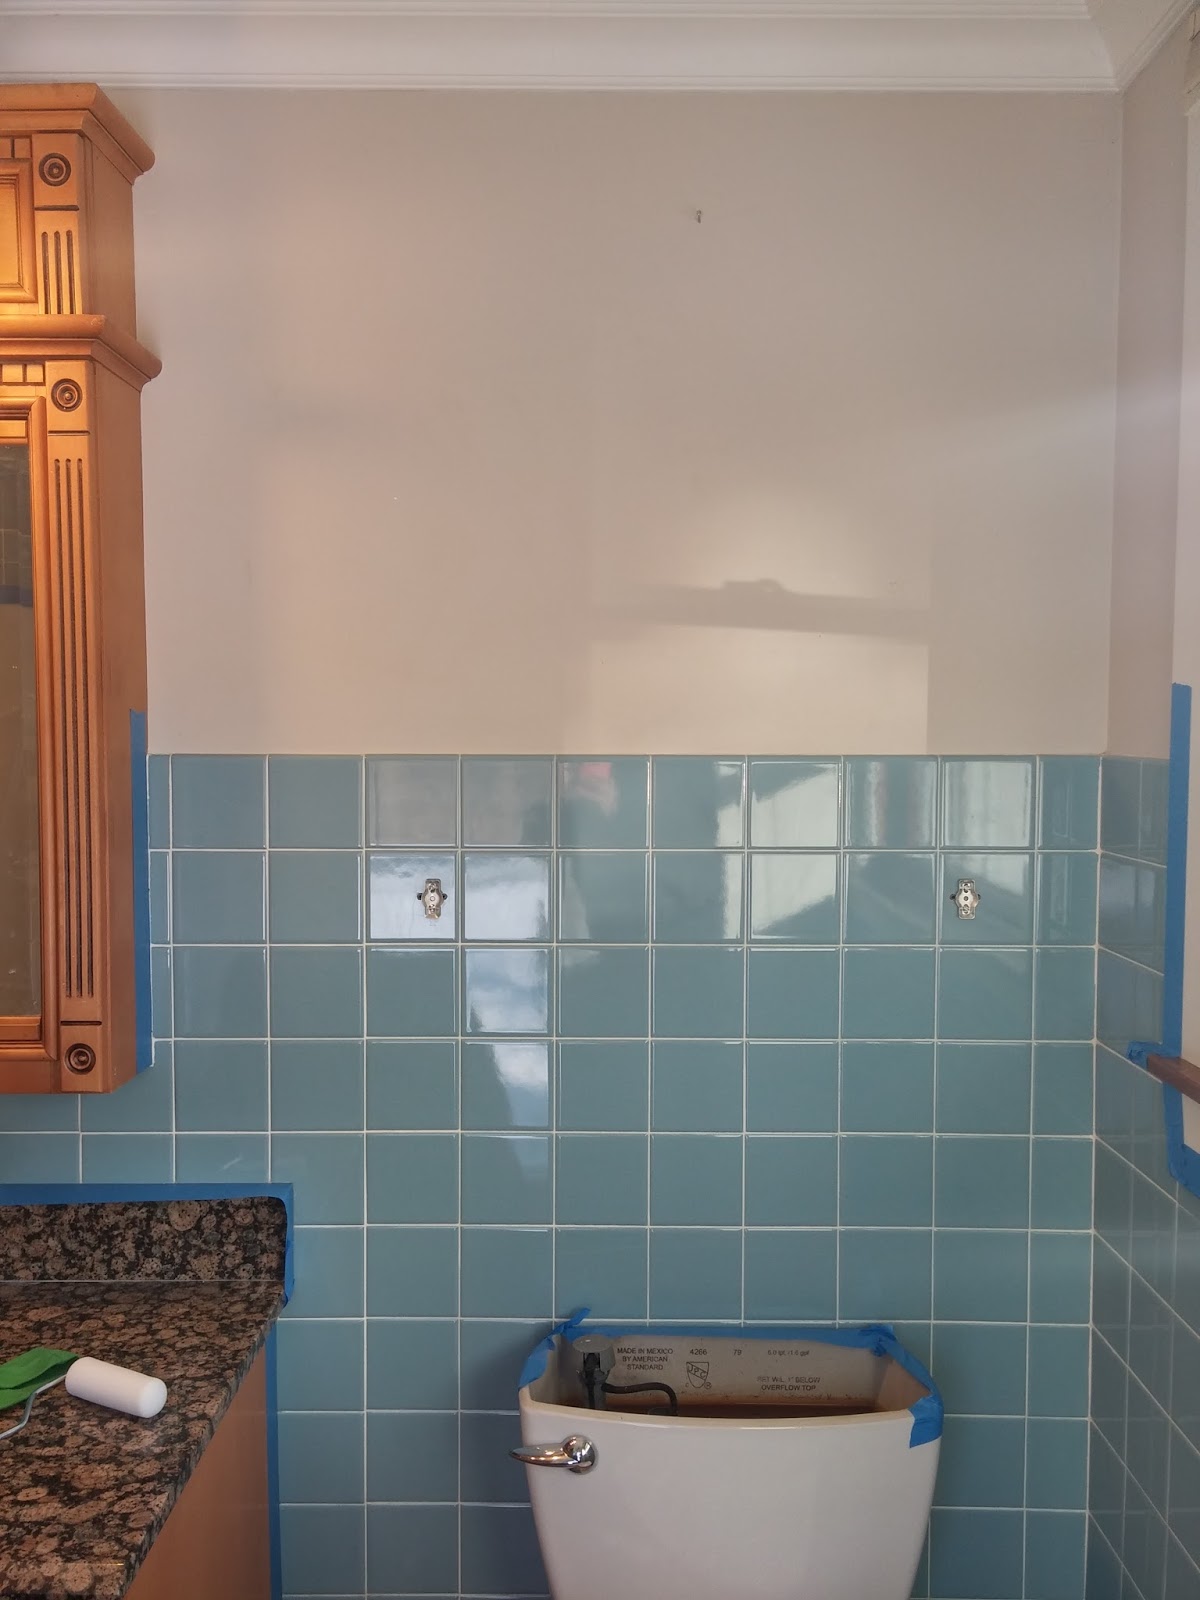
Before
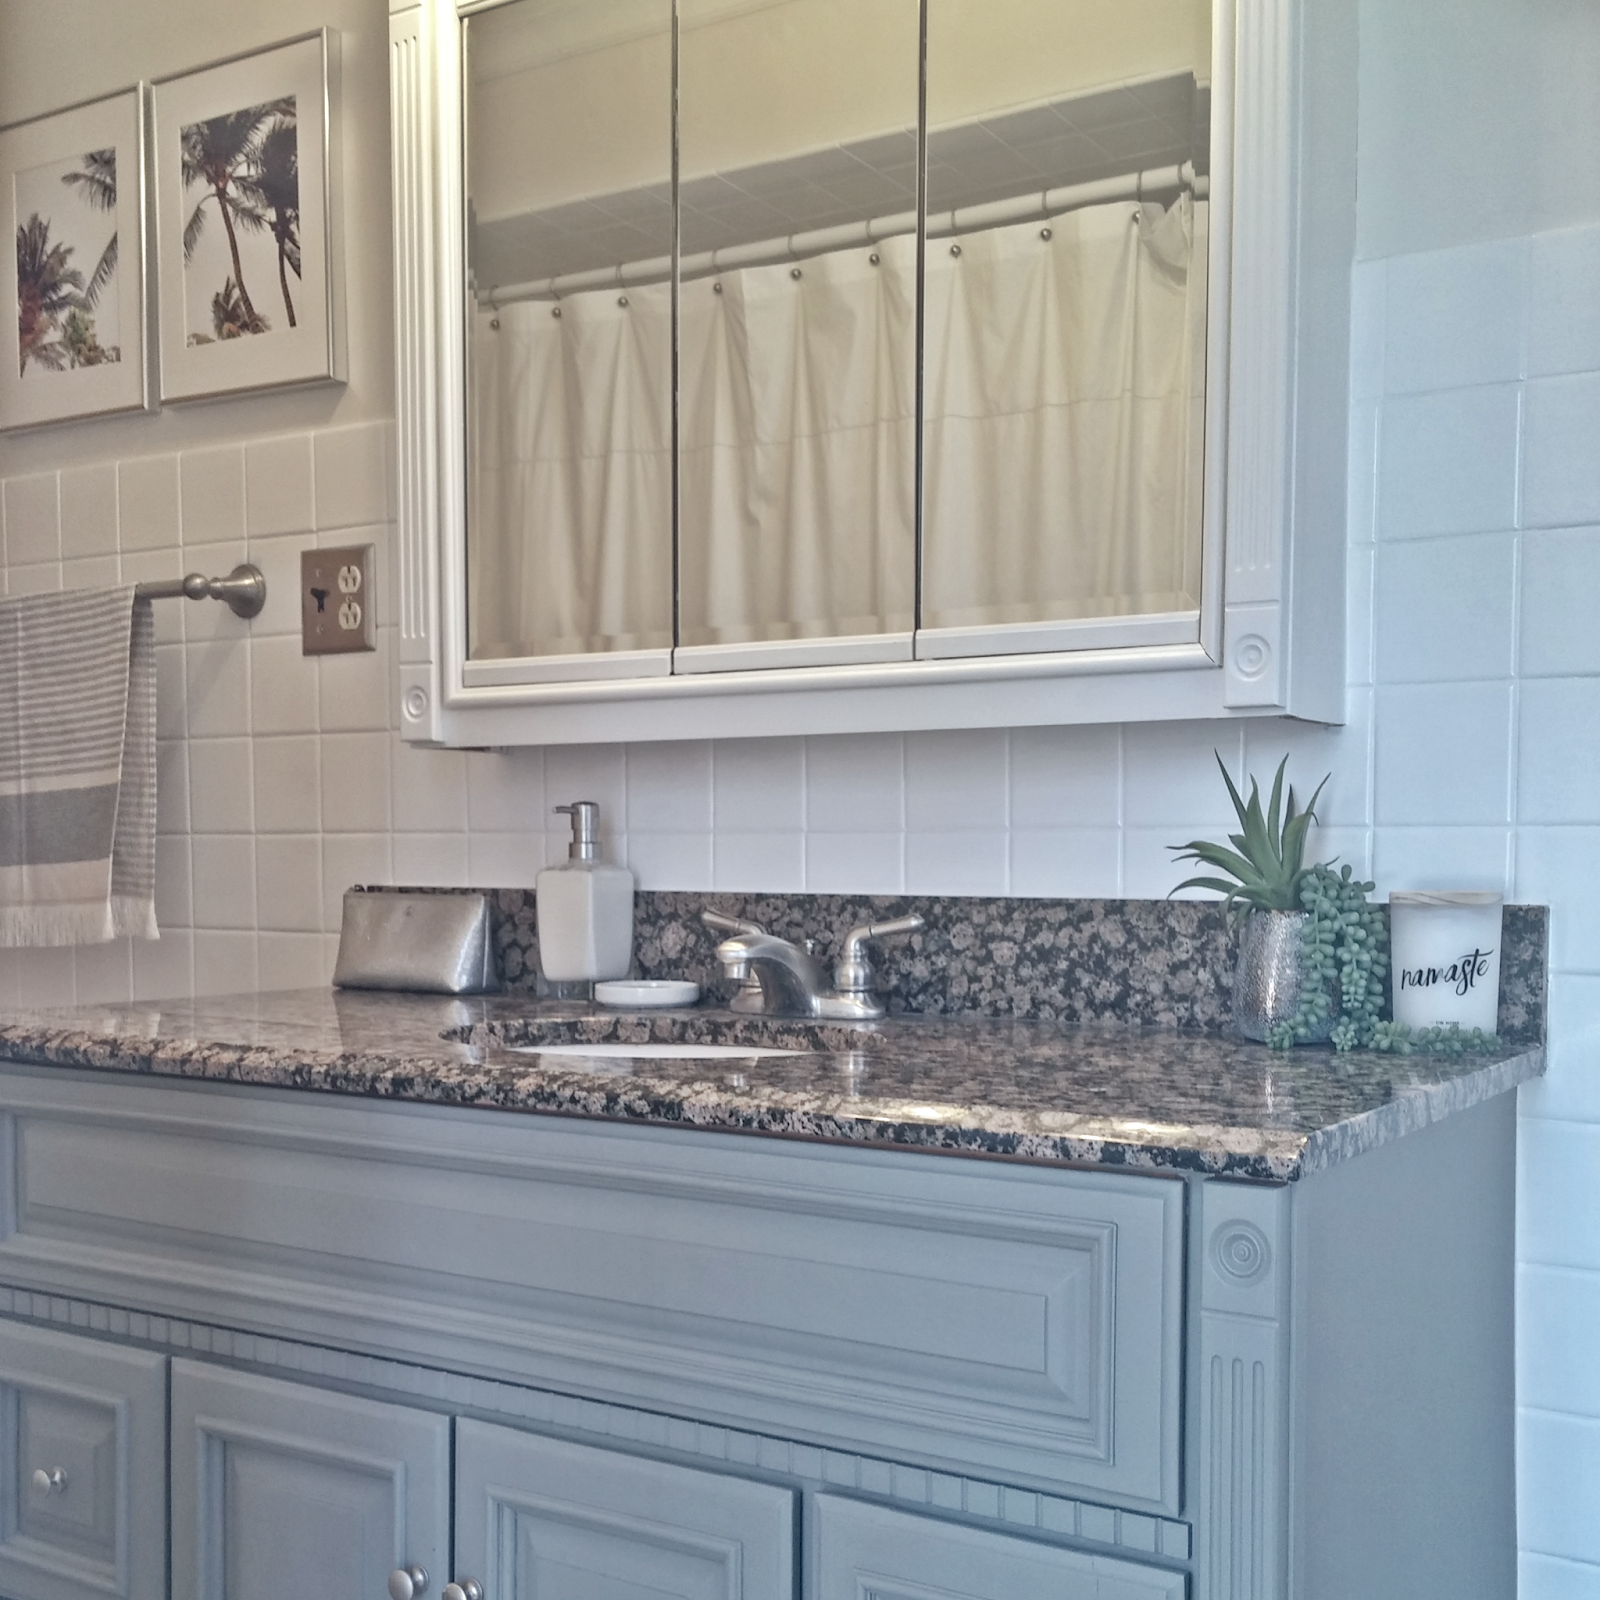
After

Before

After

Before

After

Before

After

...and some detail photos


So whatta ya think?
I love how light and airy it feels in here, even though I didn't modify anything besides surfaces and accessories.
Let's do a quick run-down of items and their costs (all available sources linked)
WALLS
Wall Paint - $0. I re-used existing paint from the rest of the first floor. The color is called Tahitian Vanilla by Valspar.
Tile Paint - $52. I used this tile paint and needed two boxes to complete four coats for all the tile on the walls.
FLOORS
Grout - I used this grout dye ($14) and this grout brush ($4)
Sealant - $0. I re-used existing gloss sealer from Home Depot from a previous project.
VANITY
Medicine Cabinet - Renaissance Chalk Paint tinted to match walls. Final coat is same Tahitian Vanilla wall paint
Vanity - Wood Primer then finished with two coats of Benjamin Moore's Desert Twilight
ACCESSORIES
Shower Curtain ($29, on sale now for $20)
Shower Rod ($12, on sale for $9)
Shower Liner ($3, on sale now for $2)
Bamboo Waste Basket ($20, on sale now for $14)
Rug ($30)
Hand Towels ($14 for 2)
All other accessories were purchased at either Homegoods (duh), Hobby Lobby, or Tuesday Morning.
The rest of the renovation items including things like paint brushes, plastic, rollers, trays, painter's tape, Comet, and caulk all came from Home Depot.
So that's a wrap! If you haven't subscribed to my YouTube Channel, you can do so HERE.
I will be posting a video walk-through of the space on soon! You won't want to miss it!
Please let me know your thoughts and if you have completed similar renovations or facelifts!
I love connecting with fellow DIYers!!
Thank you for reading and continuing to support the blog! XO

Holy shit, girl! This looks amazing! I have a bathroom and kitchen renovation for you!
ReplyDeleteI am amazed at how you do this stuff. Such a cool strength you have. Love how you styled the shelves!!
ReplyDelete